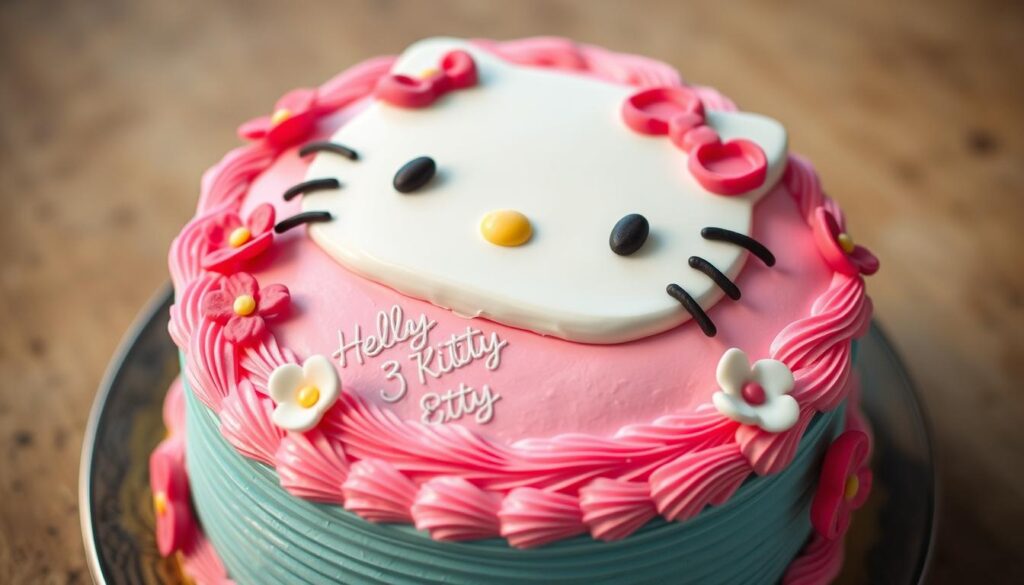
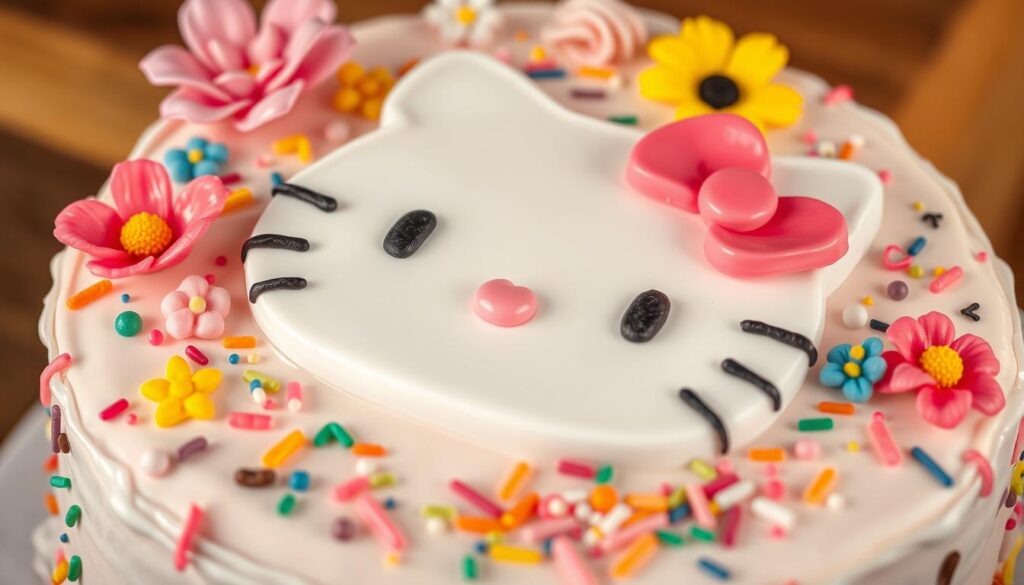
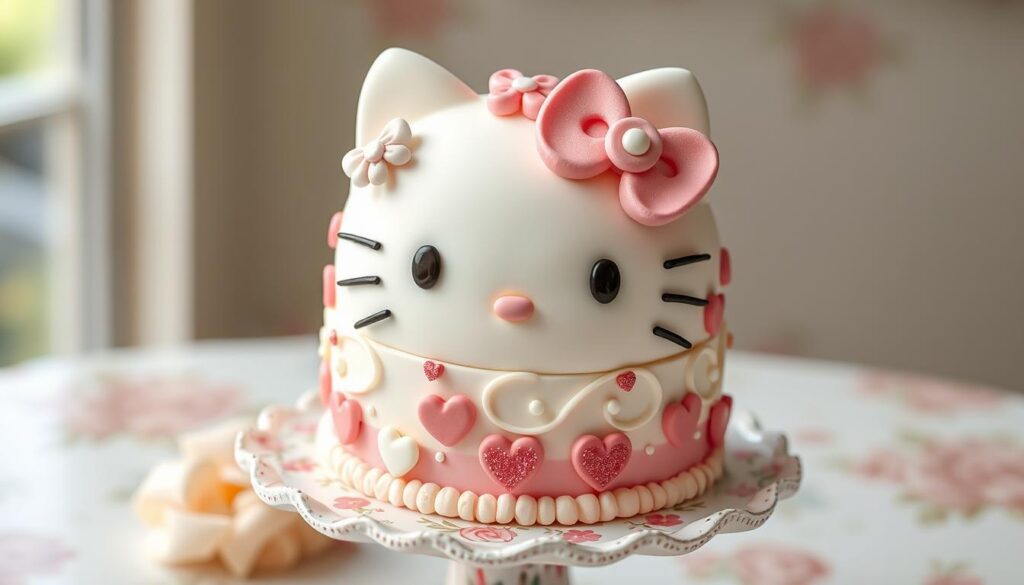
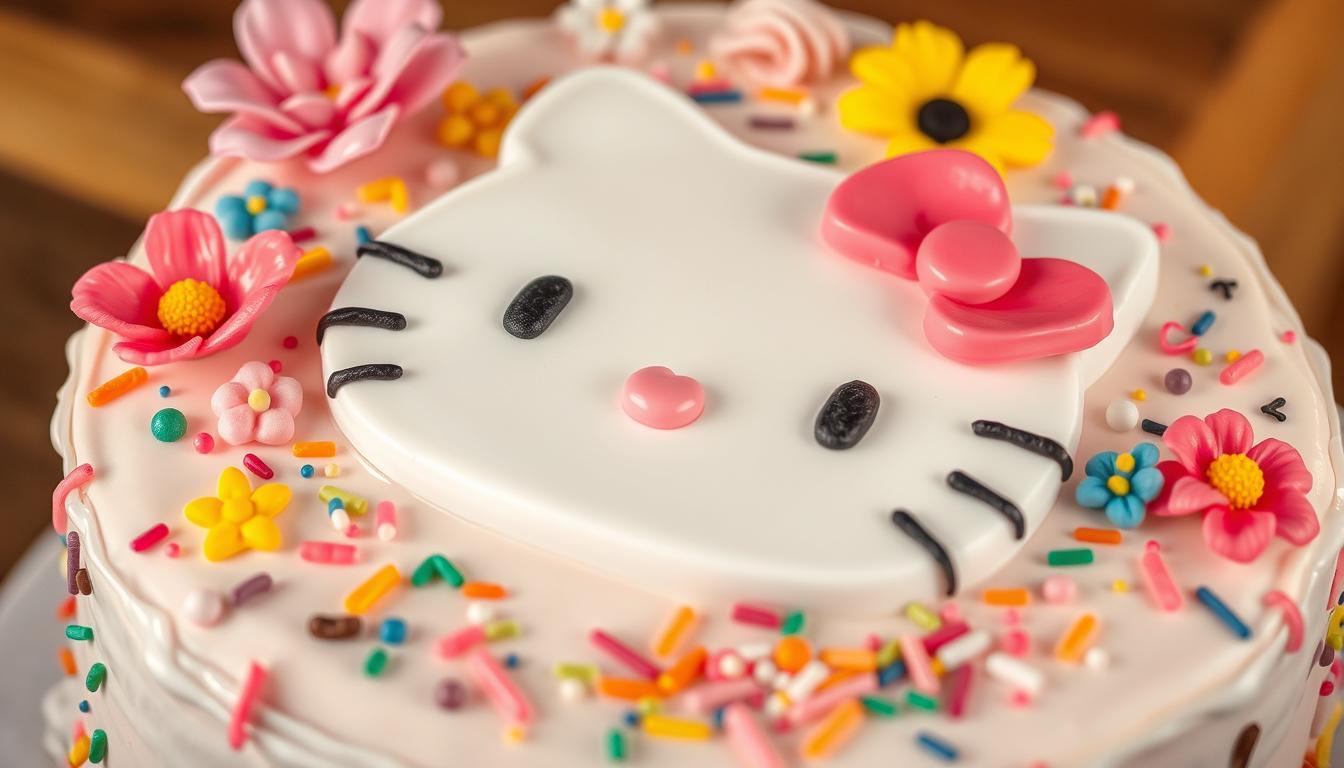
I love desserts, and Hello Kitty cakes are my favorite. They’re perfect for birthdays or bridal showers and bring joy and a sense of nostalgia to any event.
In this guide, I’ll show you how to make a beautiful Hello Kitty cake. We’ll cover the tools, ingredients, and decorating steps. Let’s start our sweet journey and make your next event unforgettable!

Table of Contents
Essential Tools and Ingredients for Your Hello Kitty Cake
Baking a Hello Kitty cake needs the right tools and ingredients. Whether experienced or new, the right supplies are key to great results. Look at the tools and ingredients you need for your Hello Kitty cake.
Basic Baking Equipment Checklist
- High-quality cake pans (round or square) in the desired sizes
- Electric or stand mixer to ensure smooth batter
- Mixing bowls in various sizes
- Measuring cups and spoons for accurate ingredient portioning
- Spatulas and offset spatulas for smooth frosting application
- Parchment paper or baking mats for easy cake removal
- Cooling racks to allow cakes to properly cool before decorating
Must-Have Decorating Supplies
- Piping bags and a variety of piping tips for precise detailing
- Fondant tools, such as rolling pins, cutters, and modeling tools
- Food coloring gels or pastes to achieve vibrant hues
- Edible markers or gel pens for adding fine details
- Toothpicks or wooden skewers for intricate work
- Turntable or lazy susan for easy cake rotation during decorating
Key Ingredients for Perfect Results
For your Hello Kitty cake, make sure you have these ingredients:
| Ingredient | Purpose |
|---|---|
| High-quality butter or shortening | Ensures a smooth, creamy texture in your frosting |
| Powdered sugar | Provides the necessary sweetness and structure for frosting |
| Cream cheese (for cream cheese frosting) | Adds a rich, tangy flavor that complements the sweetness |
| Fondant or gumpaste | Allows for intricate decorations and a smooth, polished finish |
With the right tools and ingredients, you can make stunning Hello Kitty cakes. These ideas will allow you to show off your decorating skills.
Step-by-Step Hello Kitty Cake Recipe
Making the perfect Hello Kitty cake recipe is simpler than you think. You can make a delightful homemade Hello Kitty cake with the right ingredients and creativity. This cake will surely impress your guests. Let’s start with the step-by-step guide.
- First, preheat your oven to 350°F (175°C). Grease and flour two 8-inch round baking pans. This will ensure that your cake layers come out easily.
- Mix 2 cups of all-purpose flour, two teaspoons of baking powder, and 1/2 teaspoon of salt in a large mixing bowl. Whisk until well combined.
- In another bowl, cream 1 cup of unsalted butter and 1 1/2 cups of granulated sugar until light and fluffy. Beat in 3 large eggs, one at a time, and then two teaspoons of vanilla extract.
- Slowly add the dry ingredients to the wet ingredients, mixing until combined. Avoid overmixing.
- Split the batter evenly between the two pans and smooth the tops with a spatula.
- Bake the cakes for 25-30 minutes or until a toothpick inserted into the center comes clean. Let the cakes cool in the pans for 10 minutes before transferring them to a wire rack to cool completely.
Now that your Hello Kitty cake recipe base is ready, you can decorate it. This will bring the iconic Hello Kitty character to life. Stay tuned for the next steps!
Creating the Perfect Hello Kitty Face Template
Making a delightful Hello Kitty cake begins with a precise template of the iconic feline. By designing the template carefully, you can ensure a striking and true-to-life Hello Kitty on your cake.
Drawing and Sizing Your Template
Could you start by drawing Hello Kitty’s face – her bow, big eyes, small nose, and round cheeks? Please focus on the angles and curves that make her look unique. After sketching the outline, try different sizes to find the best fit for your cake. Think about the cake’s size and how much detail you want to include.
Transferring the Design to Your Cake
Now, could you transfer the Hello Kitty design onto the cake?You can draw it using a food-safe marker or edible ink. You can alsocut out the template and use it as a stencil. Apply food coloring or piped frosting to fill it in. Make sure the lines are crisp and the character is accurately represented.
By carefully making your Hello Kitty face template and transferring it to the cake, you’re on your way to a stunning treat. With practice and attention to detail, your Hello Kitty cake design will be a crowd-pleaser.
Mastering Hello Kitty Cake Decorating Techniques
Improving your Hello Kitty cake decorating skills is key to making delicious and beautiful treats. Learning piping and fondant techniques can turn a simple cake into a stunning centerpiece. Let’s explore the essential skills for creating a perfect, cute Hello Kitty cake every time.
Piping Perfection
Piping is an essential skill in Hello Kitty cake decorating. Mastering piping techniques like shell borders, rosettes, and stars add texture and patterns. You can start by practicing on a flat surface before decorating the cake.
Fondant Finesse
Fondant is great for creating smooth surfaces and detailed 3D elements on your Hello Kitty cake. Learn to roll, drape, and mold fondant for the perfect Hello Kitty face and bow. Getting the fondant right is key to clean lines and seamless application.
Texture and Dimension
Adding texture and dimension makes your Hello Kitty cake pop. Try embossing, stamping, and making 3D elements with modeling chocolate or gum paste. These techniques can turn a flat design into a stunning masterpiece.
| Decorating Technique | Description | Difficulty Level |
|---|---|---|
| Piping | Creating borders, rosettes, and stars using a piping bag and various nozzles | Intermediate |
| Fondant Application | Covering the cake in a smooth, flawless layer of fondant | Intermediate |
| Dimensional Elements | Sculpting 3D figures, bows, and other details using modeling chocolate or gum paste | Advanced |
With hard work and practice, you can master these techniques and make amazing desserts. The secret to success is patience, attention to detail, and a love for the craft.

Color Schemes and Frosting Tips for Hello Kitty Designs
Making a perfect Hello Kitty cake design is all about vibrant colors and smooth frosting. You need to pick the right food coloring and master bow details. These steps can turn a simple cake into a magical masterpiece.
Choosing the Right Food Coloring
Bold colors are essential for a cute Hello Kitty cake. Pink is Hello Kitty’s signature color but try other colors. Use purple, red, and white for a striking look. Liquid or gel food coloring works best for vibrant colors.
Frosting Consistency Guidelines
- For a smooth finish, the frosting should be creamy and spreadable.
- Avoid thick frosting, as it’s hard to work with and can look uneven.
- Try different frostings like buttercream, cream cheese, or whipped cream to find the right feel.
Creating Perfect Bow Details
No Hello Kitty cake design is complete without the iconic bow. Use fondant or gum paste for the bow. These materials are excellent for detailed, lifelike designs. Place the bow carefully to match the cake’s colors and design.
| Frosting Type | Ideal Consistency | Recommended Uses |
|---|---|---|
| Buttercream | Smooth and creamy | Versatile for decorating and filling cakes |
| Cream Cheese | Thick yet spreadable | Excellent for adding richness and flavor |
| Whipped Cream | Light and airy | Perfect for delicate, cloud-like designs |
Follow these tips for colors and frosting, and you’ll make a Hello Kitty cake that looks amazing and tastes great. Let your creativity flow and make your Hello Kitty cake stand out!
Common Mistakes to Avoid When Making a Hello Kitty Cake
Making a Hello Kitty cake idea can be fun but also challenging. Please avoid these common mistakes to ensure your easy Hello Kitty cake ensure looks perfect.
One mistake is having an uneven cake surface. To fix this, level your cake layers before putting them together. Use a serrated knife to cut off any domes, ensuring the top is flat for decorating.
Color bleeding is another problem that can ruin your cake. To avoid this, use top-notch food colorings and keep your frosting consistent. Please stay away from very thin buttercream, as it can mix colors.
- Prevent uneven cake surfaces by leveling layers before assembly
- Use quality food colorings and maintain proper frosting consistency to avoid color bleeding
- Handle fondant with care to prevent tearing or cracking during decorating
Finally, please be gentle when you work with fondant. It can tear or crack if you’re not careful. Take your time draping, smoothing, and shaping the fondant for a perfect finish.
| Common Issue | Prevention Tip |
|---|---|
| Uneven Cake Surface | Level cake layers before assembly |
| Color Bleeding | Use high-quality food colorings to maintain proper frosting consistency |
| Fondant Tearing/Cracking | Handle fondant gently during decorating |
By avoiding these common problems, you’ll be on your way to making a stunning Hello Kitty cake that will impress everyone.

Creative Hello Kitty Cake Design Variations
The classic Hello Kitty cake design is always a hit. But you can add your twist to make it unique. You can choose themes that match the season or design it for different ages. This way, you can make a Hello Kitty cake that’s truly unique.
Seasonal Theme Ideas
Use the seasons to inspire your Hello Kitty cake. For winter, add edible “snow” and candy canes. Spring brings pastel colors, flowers, and a garden scene with Hello Kitty.
Summer is perfect for a beach theme. Decorate with seashells and sand sprinkles. Hello Kitty can wear a swimsuit and enjoy the beach.
Age-Appropriate Modifications
You can adjust the cake design for different ages. Young kids love bright colors and extra Hello Kitty characters. Older kids might enjoy a more detailed design, like a tiered cake or fondant work.
Hello Kitty cakes are incredibly versatile. You can make a cake that everyone will love by trying out different designs. For a holiday or a specific age group, you can create a Hello Kitty cake that will wow your guests.
Storage and Transportation Tips
Making a homemade Hello Kitty cake is a labor of love. ButHello KittyHello Kitty, the journey doesn’t end when you finish decorating. Proper storage and transportation are key to keeping your cake looking great. Let’s look at some essential tips for this final stage.
Refrigeration Guidelines
After decorating, keep your Hello Kitty cake chilled. This helps it stay fresh and hold its shape. Store it in the fridge on a flat surface, avoiding heavy items on top.
If your cake has perishable fillings or frosting, refrigeration is crucial. It prevents spoilage.
Packaging for Transport
When it’s time to move your cake, please make sure it’s secure and protected. For extra cushioning, you can use a strong cake box or container with bubble wrap or foam.
Could you pack ice packs to keep the cake cool if going far away? This is important for long trips.
Maintaining Appearance During Transit
Please be careful when moving your cake to avoid damage. Don’t place the box upside down on its side; keep it level.
If you see minor flaws when you arrive, don’t worry. A few quick touch-ups with a piping bag or frosting can fix it.
| Tip | Description |
|---|---|
| Refrigerate Cake | Please make Kittytore the Hello Kittyfoam cake on a flat surface in the refrigerator to maintain freshness and structure. |
| Secure with Packaging | I’d like you to use a sturdy cake box or container lined with bubble wrap or foamto cushion the cake during transport. |
| Keep Level and Cool | Maintain the cake’s orientation and temperature during the journey to prevent mishaps or damage. |
I’d like to remind you that the following tips will help you make your homemade Hello Kitty cake in perfect condition. You’ll get lots of compliments and enjoy the satisfaction of sharing a beautiful Hello Kitty birthday cake with your loved ones.
Related: Homemade Cherry Chip Cake.
Conclusion
Making a Hello Kitty cake is fun and rewarding. You’ve learned the basics and how to decorate it. You can create your own Hello Kitty cake for any special event.
Baking a Hello Kitty cake is perfect for birthdays, baby showers, or just because. Let your creativity run wild. Try new colors, themes, or designs that fit the occasion. The options are endless.
The best part of making a Hello Kitty cake is seeing it come to life. Enjoy the process of turning a simple cake into something extraordinary. With what you’ve learned, you’re ready to make cakes that will impress everyone.
FAQ
What are the essential tools and ingredients needed to make a Hello Kitty cake?
You’ll need round cake pans, a stand or hand mixer, and decorating tools like piping bags and fondant tools. Remember food coloring. For the cake, use high-quality flour, sugar, butter, eggs, and heavy cream for the frosting.
How do I create the perfect Hello Kitty face template for my cake?
Start by drawing Hello Kitty’s face, including the cat shape, big eyes, button nose, and bow. Make sure it fits your cake size. Then, use a toothpick or edible marker to draw it on the cake.
What are some common mistakes to avoid when making a Hello Kitty cake?
Avoid uneven cake surfaces, color bleeding, and fondant tearing. To fix these, bake and cool the cake; you can create a Hello Kitty cake for a holiday or a specific age group food coloring, and handle the fondant carefully.
Can I make seasonal or age-appropriate variations of a classic Hello Kitty cake?
Yes! You can make Hello Kitty cakes for any season or age. For spring, use pastel colors or add holiday elements. For kids, add more Hello Kitty characters or keep the design simple.
How do I properly store and transport a Hello Kitty cake?
Store the cake in the fridge until serving. Transport it using a strong cake carrier or box. Please keep it away from sunlight and heat. You can have extra frosting, sprinkles, or fondant for last-minute touches.

